Baby boy and baby girl shoes with cutting files and assembly instructions
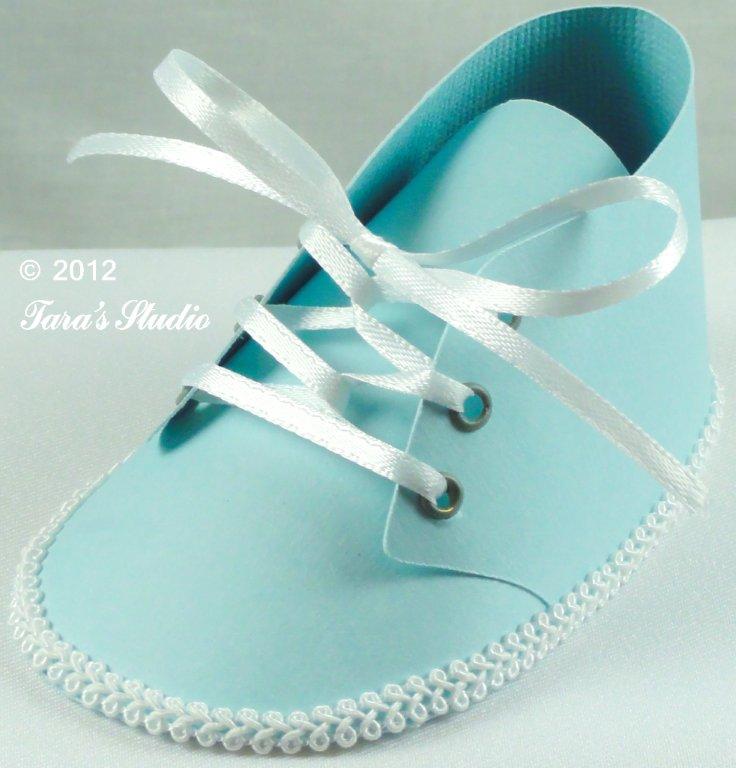
How cute are these! The August Pazzles Challenge is a project involving water. I had motivation to work on a baby project since my daughter Jordan gave birth to her second little boy recently! His name is Owen Carter and he is such a beautiful baby! So I decided to make some baby shoes that have elements on them that include the water theme. I loved how these shoes look so much, that I made quite a few of them! Of course, I made more boy ones in celebration for our family’s newest addition!I saw many manual templates for these on the internet, but couldn’t find any WPC cutting files for my machine, so I came up with a cutting file for both the boy and girl shoe. Here is the WPC BOY SHOE CUTTING FILE and here is the WPC GIRL SHOE CUTTING FILE. Place mouse over link and right click to “Save File” on your computer. Then open in your machine software. Assembly instructions are below. I hope these files are useful to those who have this capability.
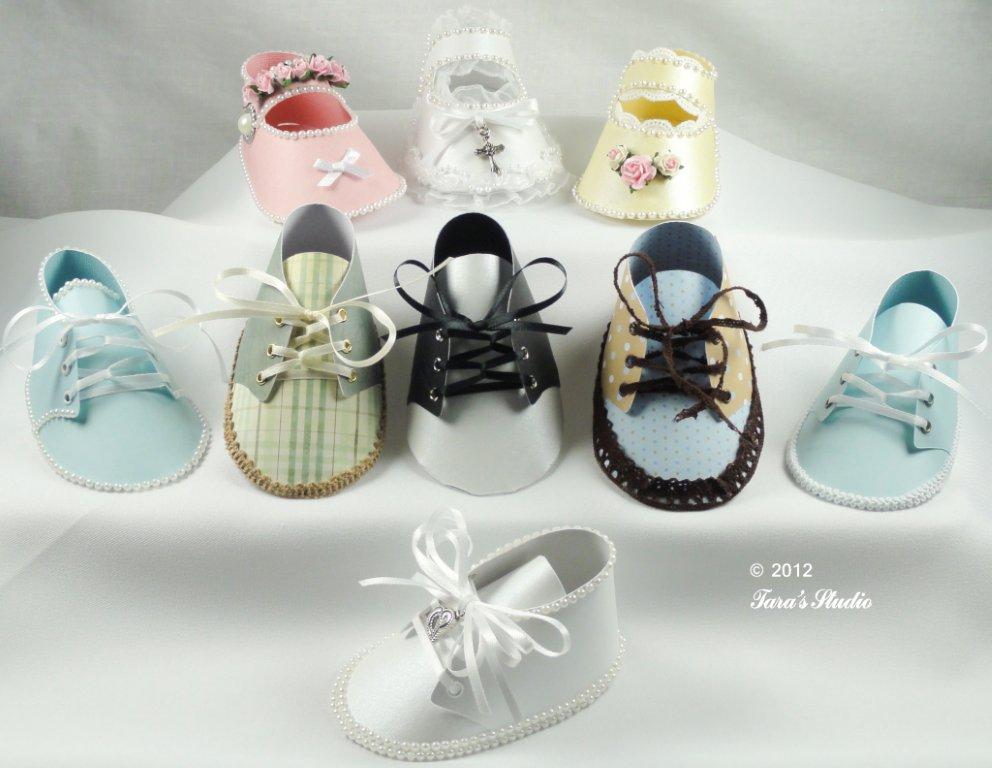

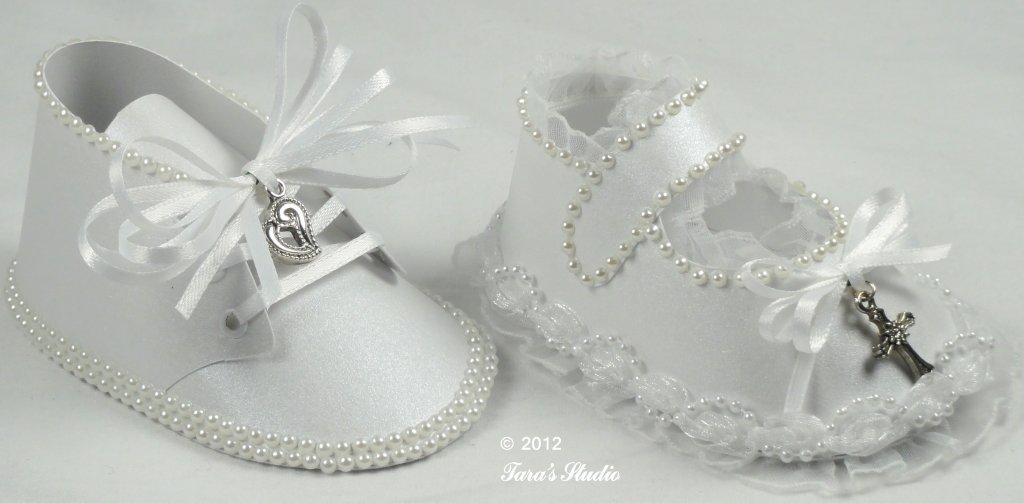

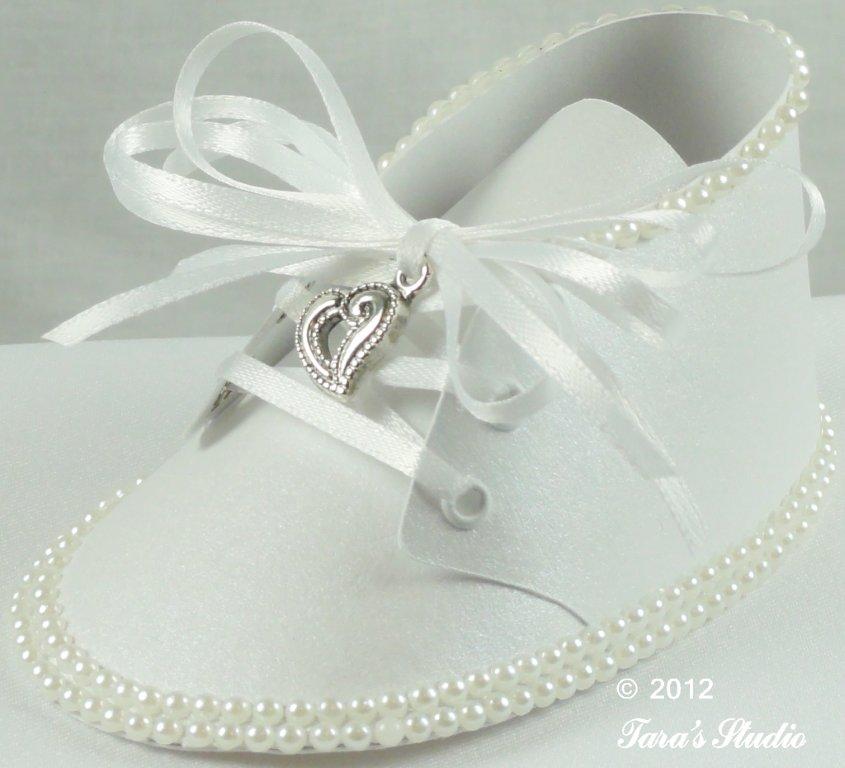
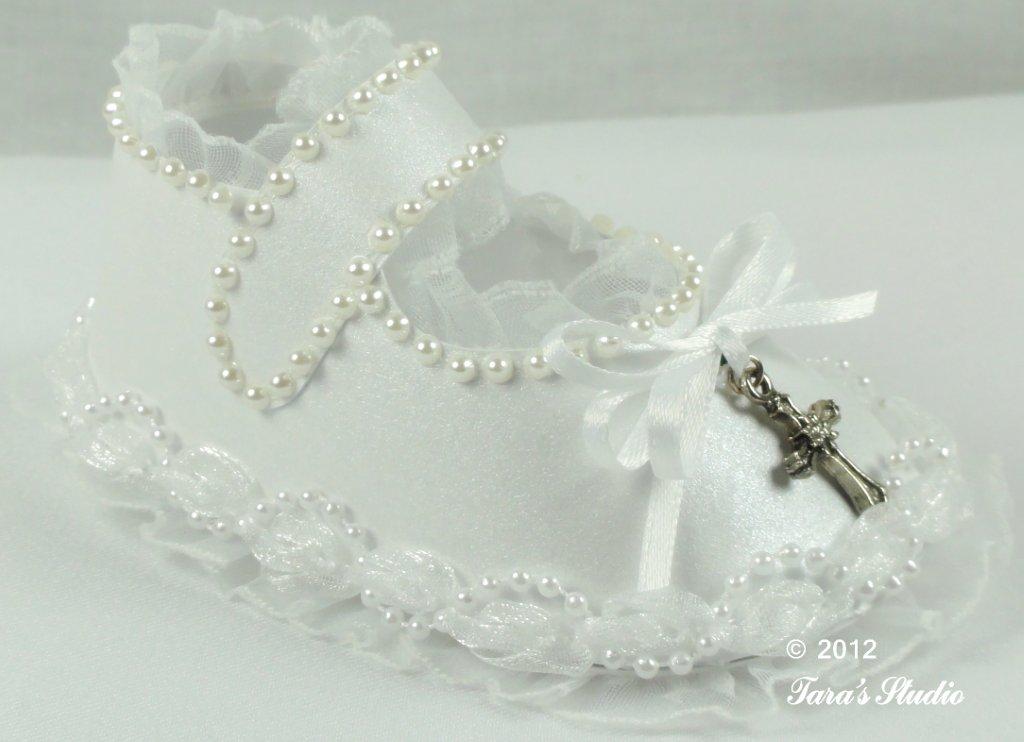
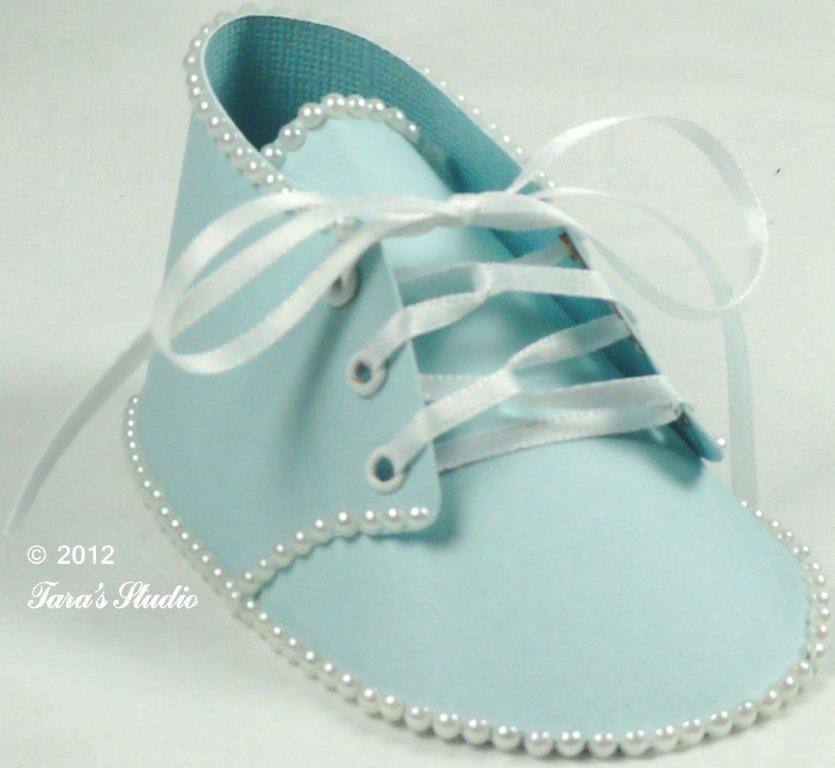
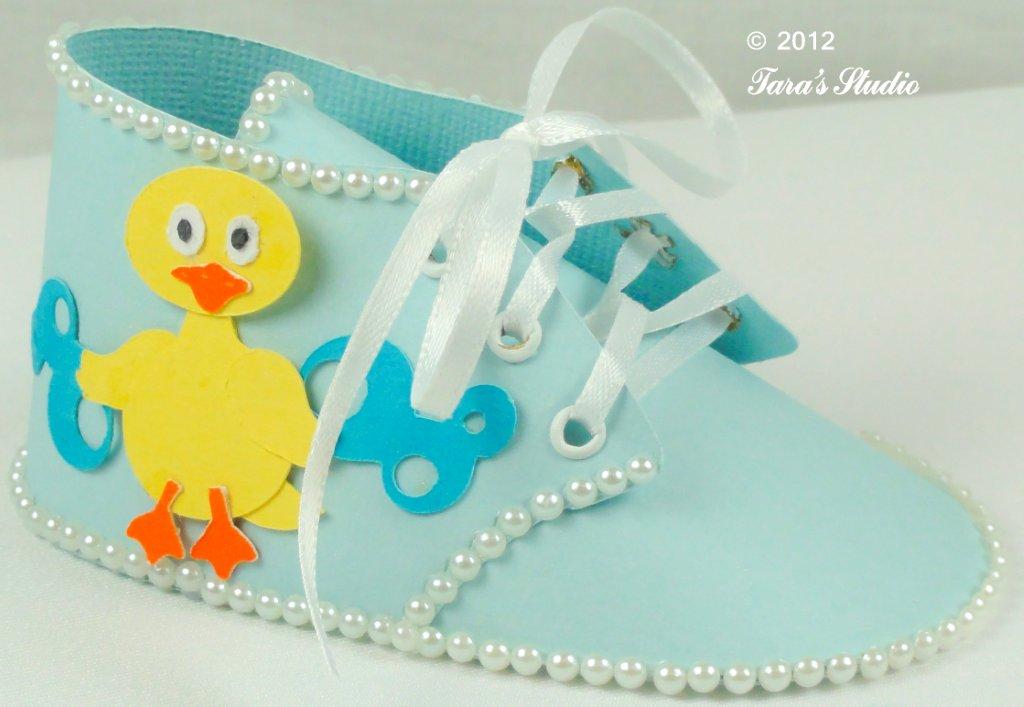
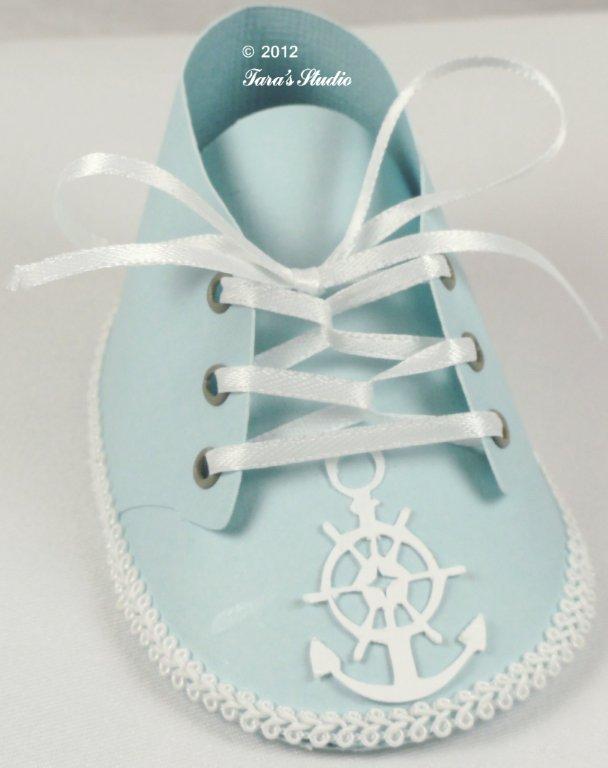
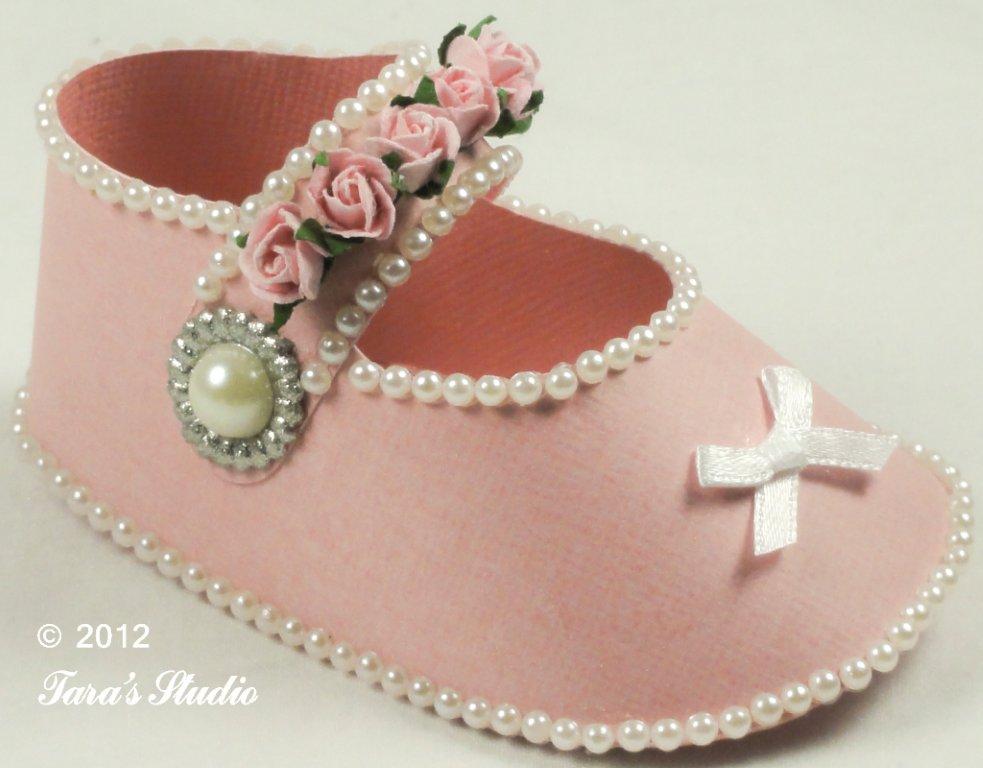
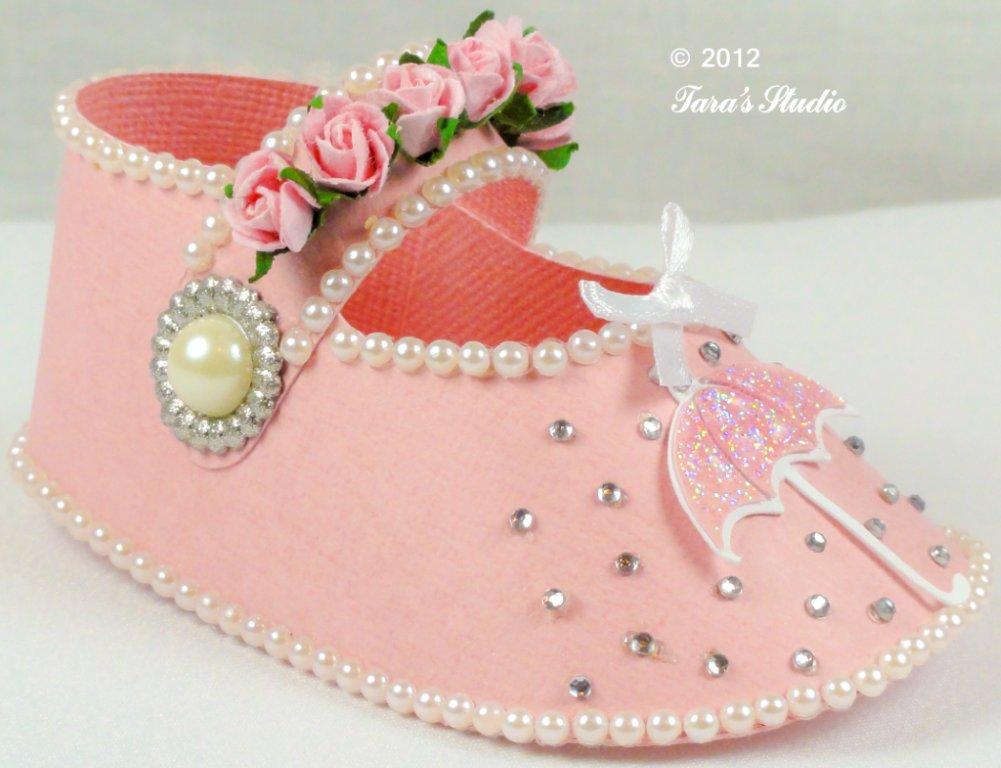
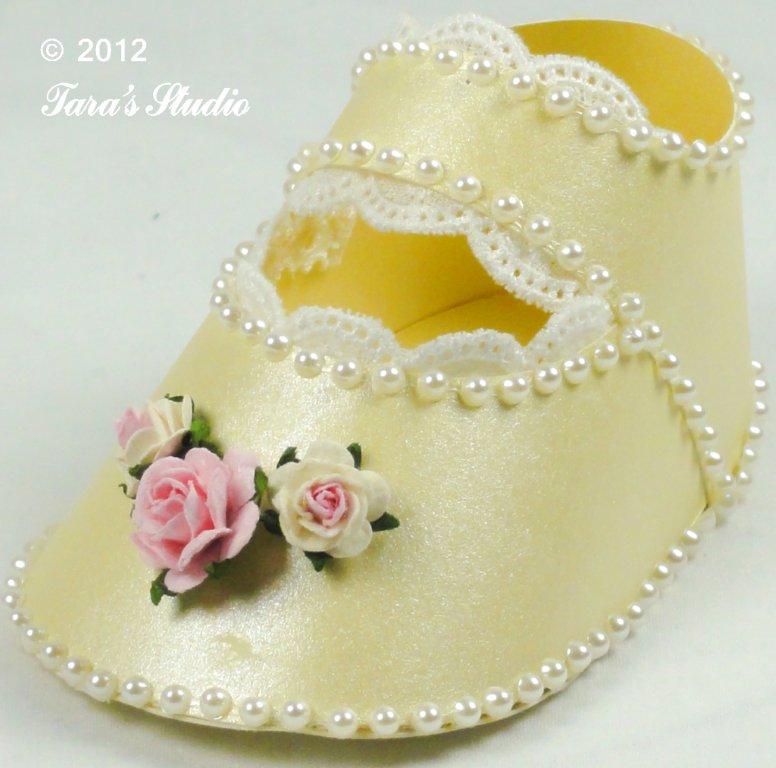
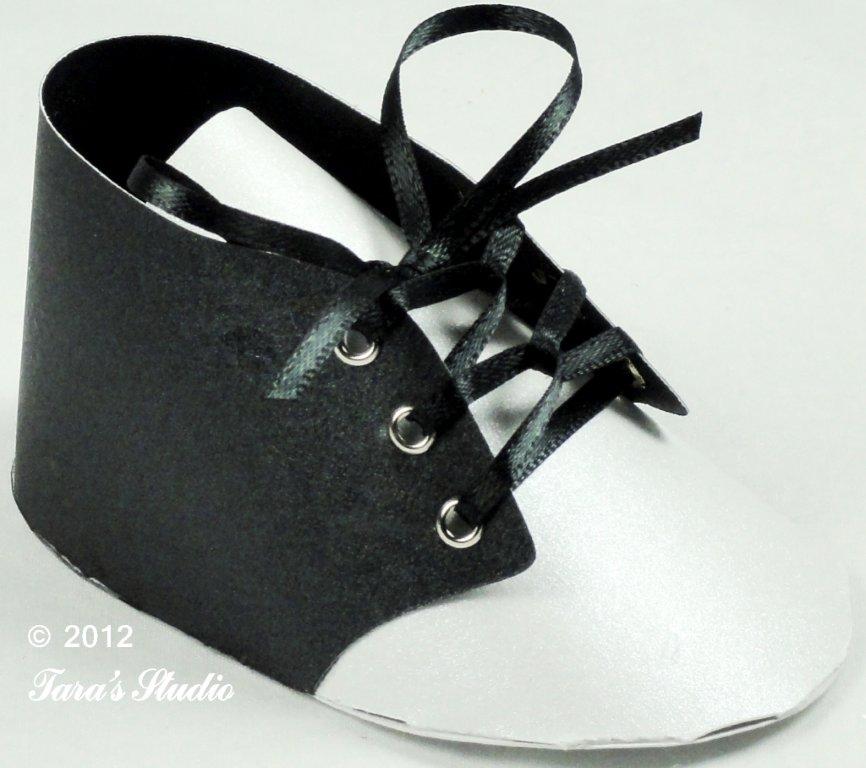
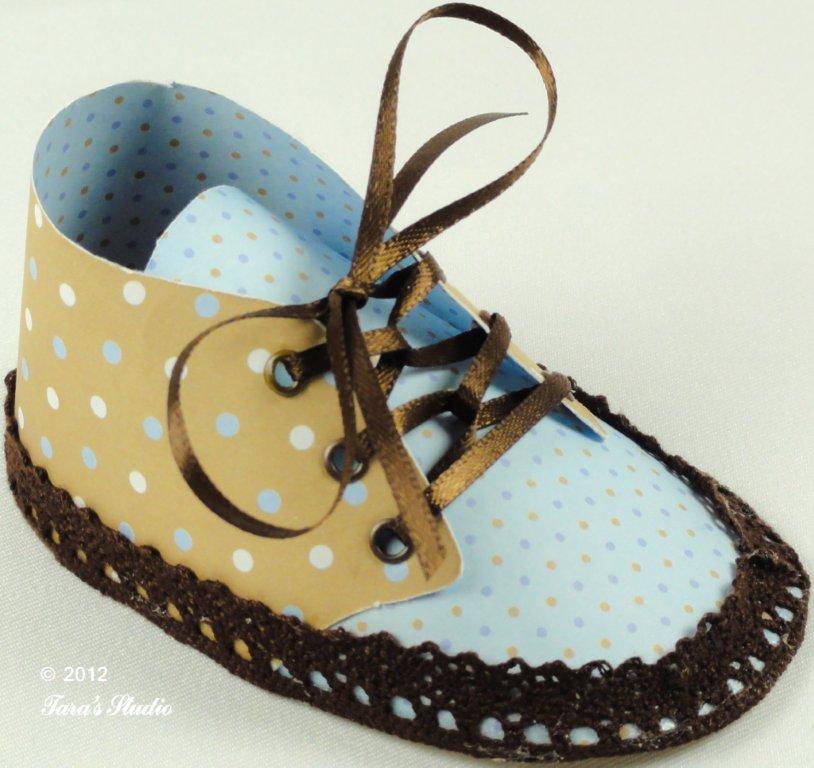
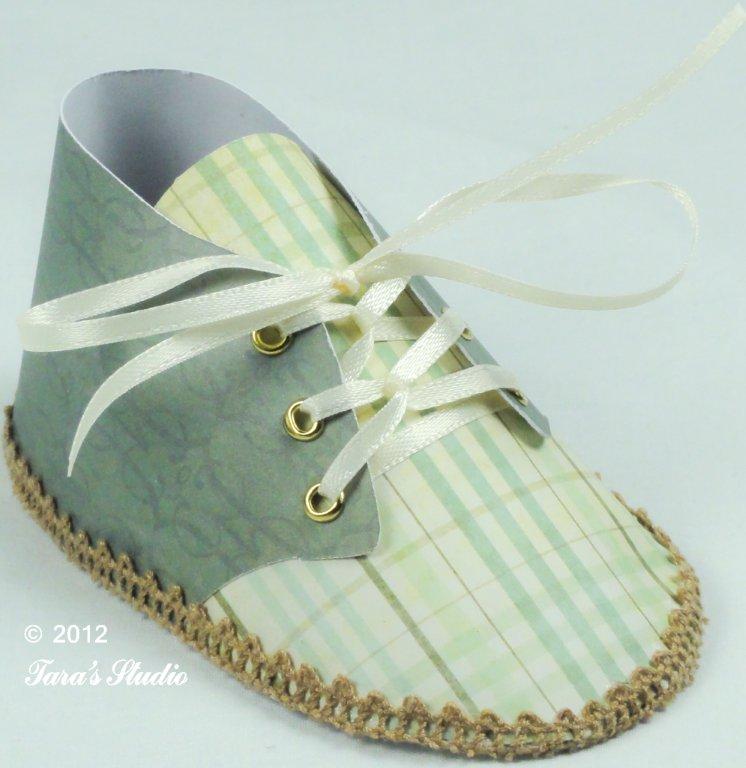
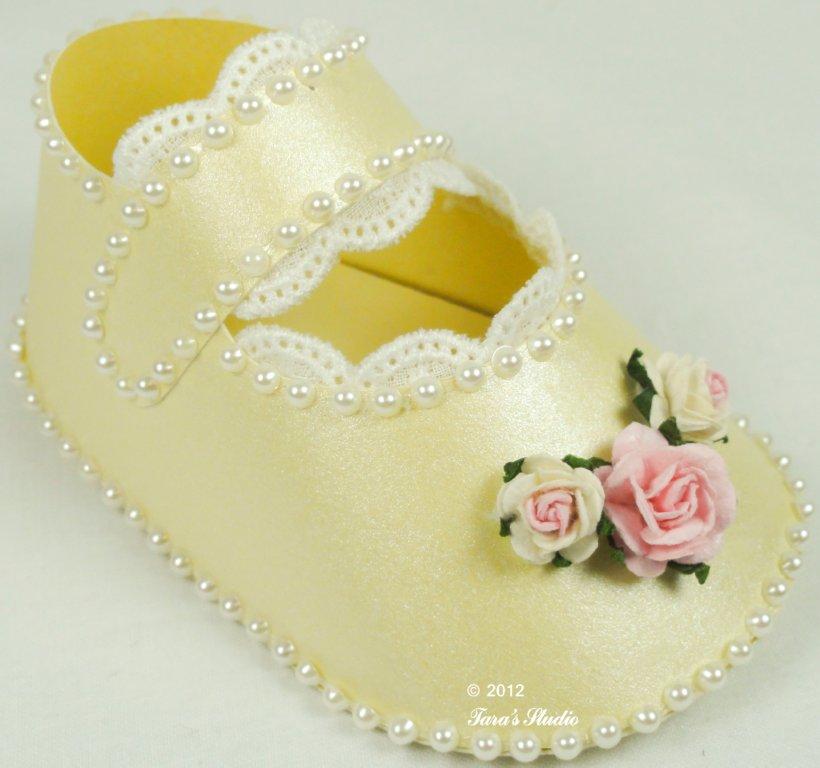
**NOTE** Even with very careful tab placement, the glued tabs tend to have slightly jagged edges due to the curves of the shoes. For that reason, I applied lace or pearls at the bottom of most of the shoes to cover this. The lace/pearls gives the appearance of a sole so actually makes the shoes appear more realistic!
BOY SHOE ASSEMBLY INSTRUCTIONS:
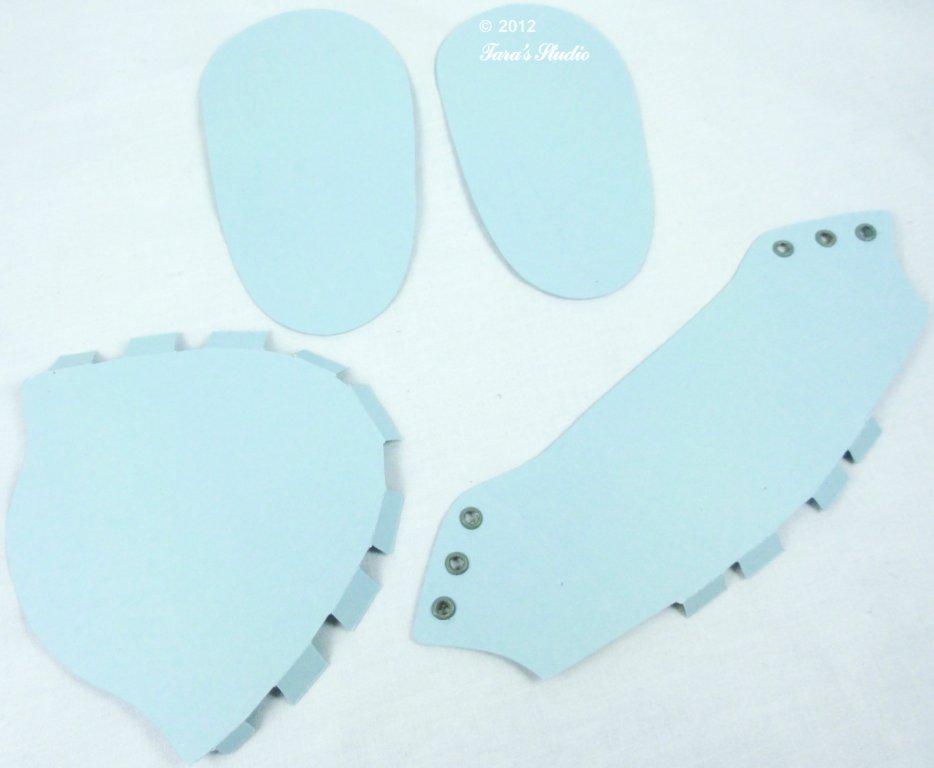
Download the cutting file and fold the tabs along the scored lines. If you are going to add eyelets, it should be done at this point:
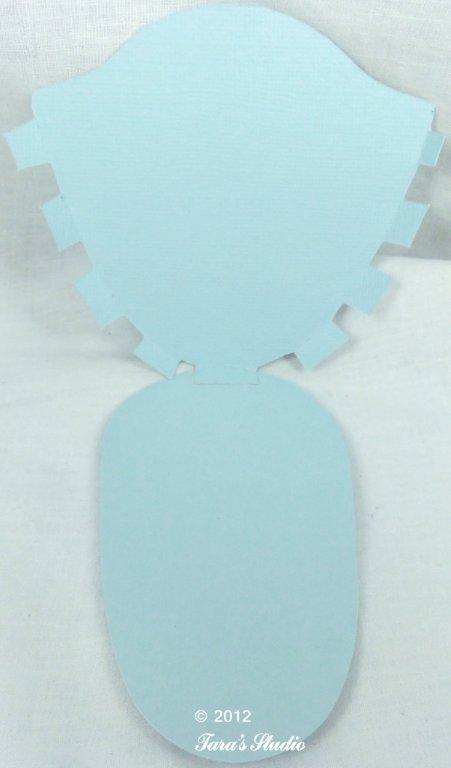
Start at the top of the sole and center and glue the middle tab to the sole top as shown. Hold in place until the glue is firmly set:
Since these pieces are curved, the glueing process should be done slowly and carefully to position the tabs in place as best possible. I found that I got the best result if I glued just one or two tabs at a time. Try to align the tabs at the very edge of the sole for optimal appearance. Continue to glue each tab into position by curving to fit the sole as you go along:
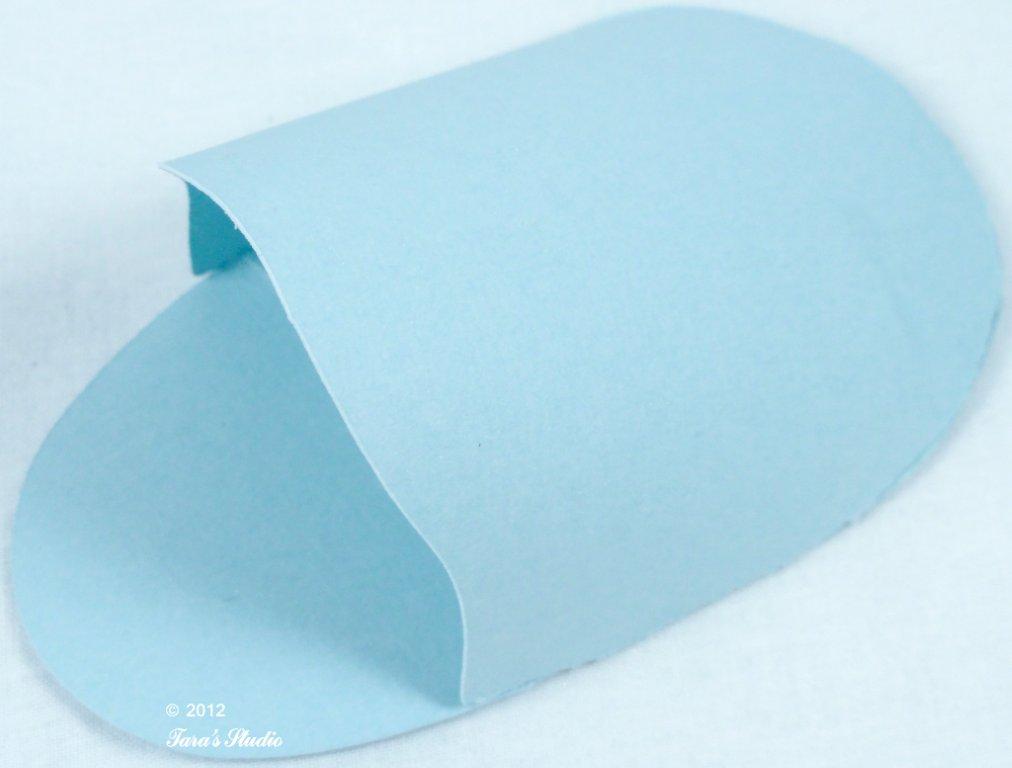
Once the shoe front is in place, insert the smaller sole inside the shoe, but DO NOT glue in place just yet. This extra sole will cover the exposed tabs. Lift this up so that the tabs for the back of the shoe can be affixed first:
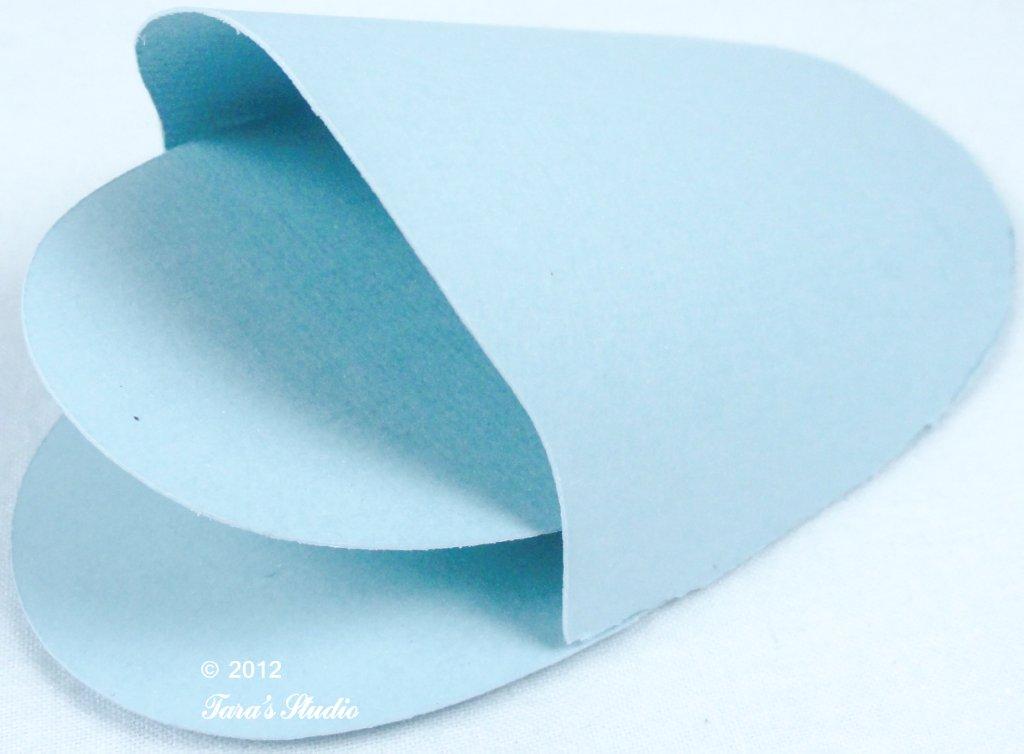
Take the back of the shoe and apply glue to the two center tabs. Center these tabs to the back of the sole and hold firmly until glue is set:
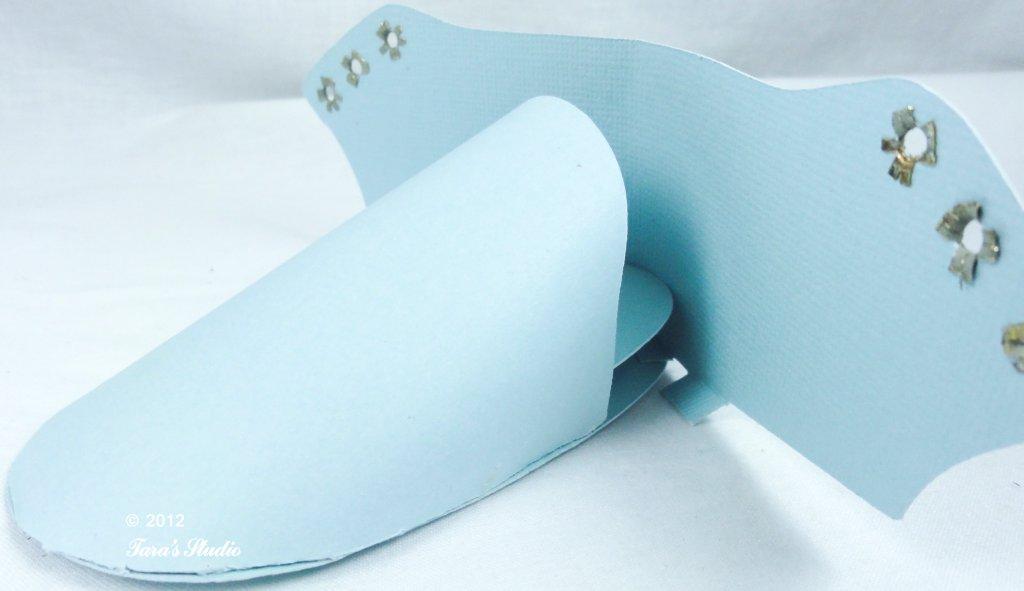
Curve the back and apply glue to the tabs one at a time and hold firmly to set to achieve the best appearance:
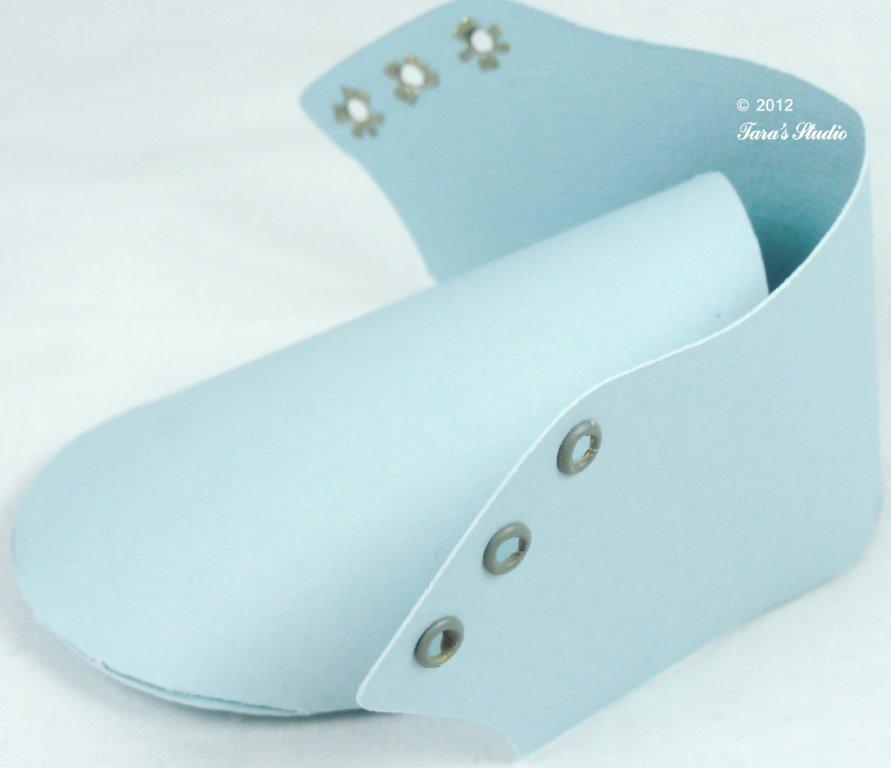
Apply glue to the sides of the shoe back as shown:
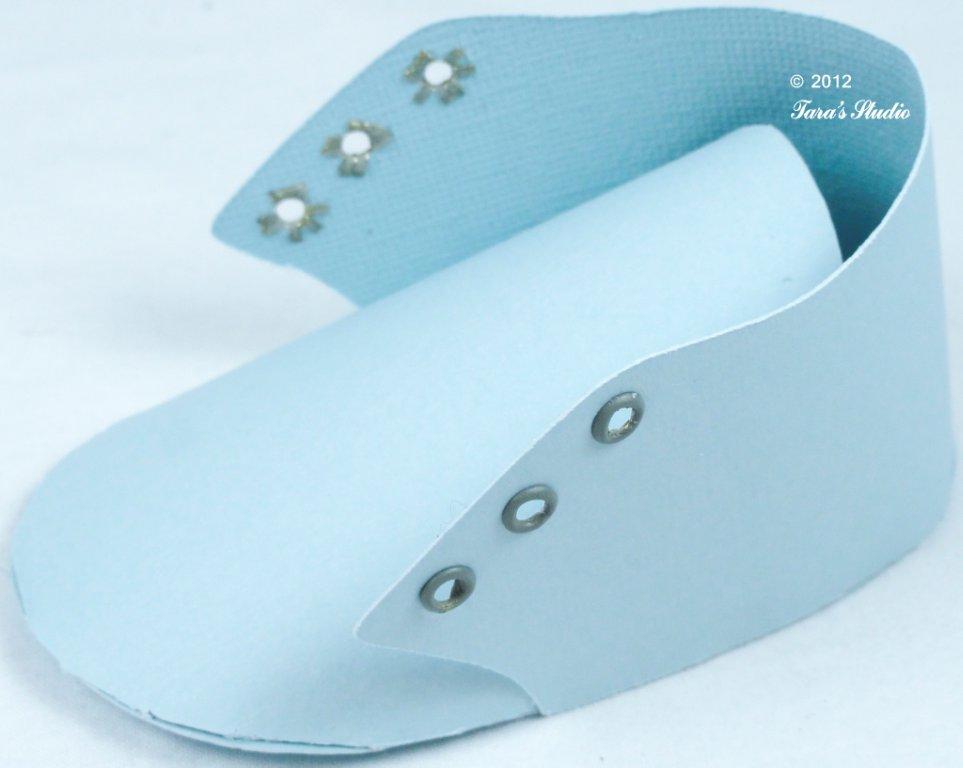
Now apply glue to the underside of the heel part of the smaller sole insert and gently position into place to hide the tabs. Lace shoes and decorate.
GIRL SHOE ASSEMBLY INSTRUCTIONS:
Download the cutting file and fold the tabs along the scored lines:
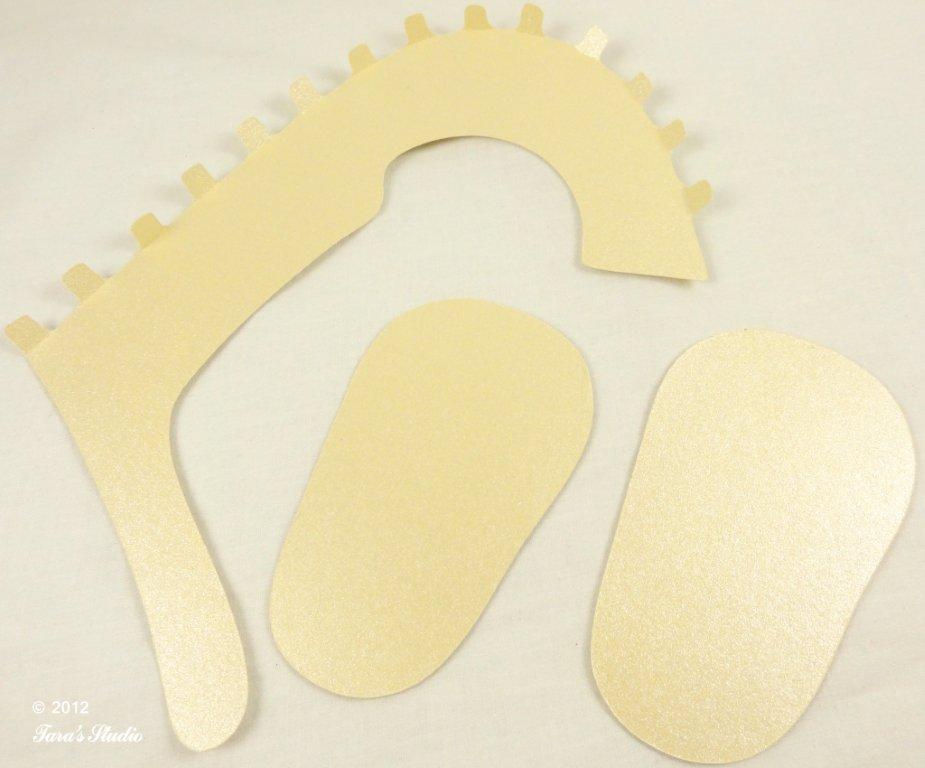
Start at the top of the sole and center and glue the tab with the small puncture (5th tab) to the puncture mark on the sole top as shown. Hold in place until the glue is firmly set:
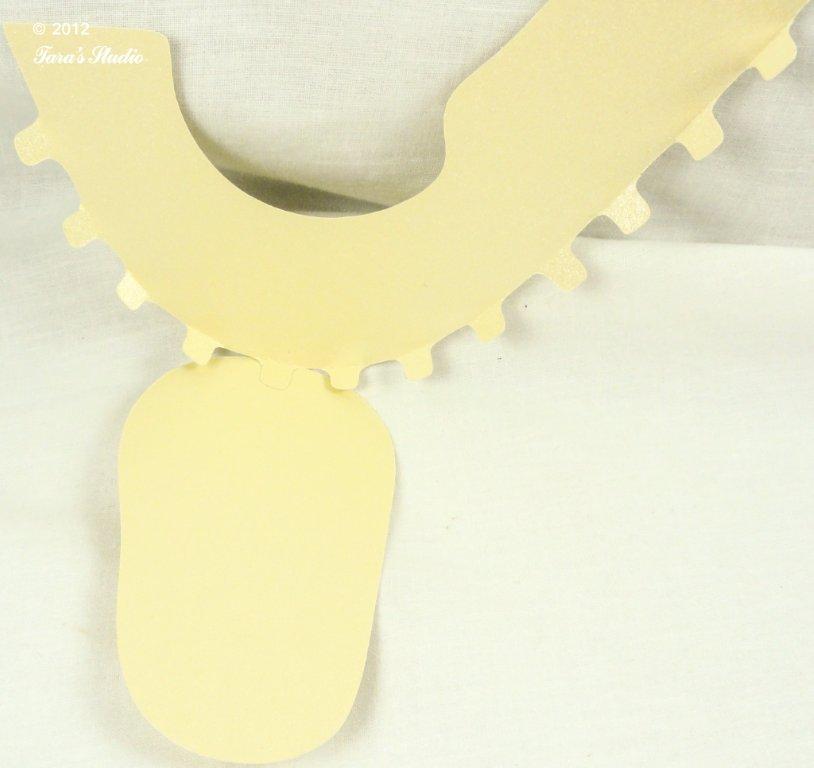
Since this piece is curved, the glueing process should be done slowly and carefully to position the tabs in place as best possible. As with the boy’s shoe, I found I got the best result if I glued just one or two tabs at a time. Try to align the tabs at the very edge of the sole for optimal appearance. Continue to glue each tab into position by curving to fit the sole as you go along.
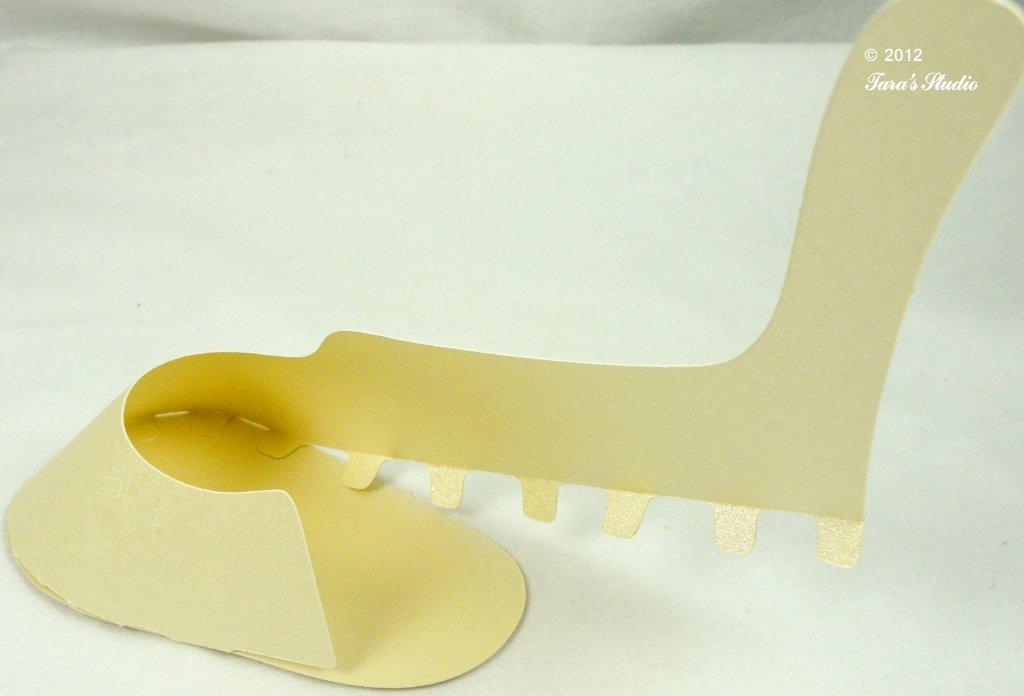
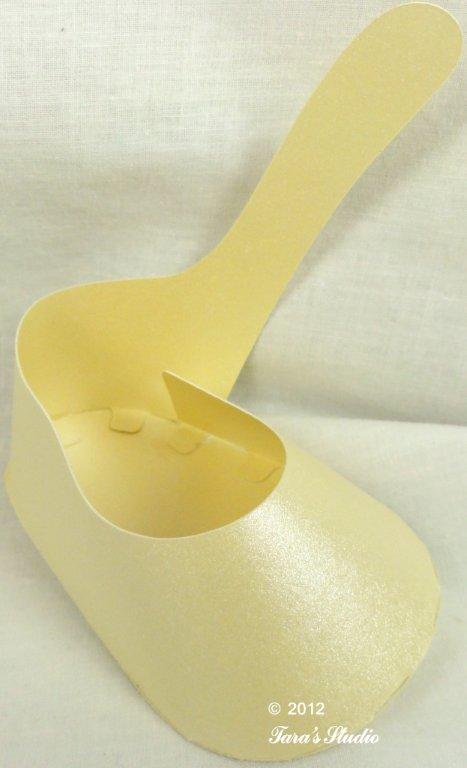
Once all the tabs are glued onto the sole, insert the smaller sole and glue it down to hide the tabs. Then glue the base of the shoe strap to the adjacent side as shown here:
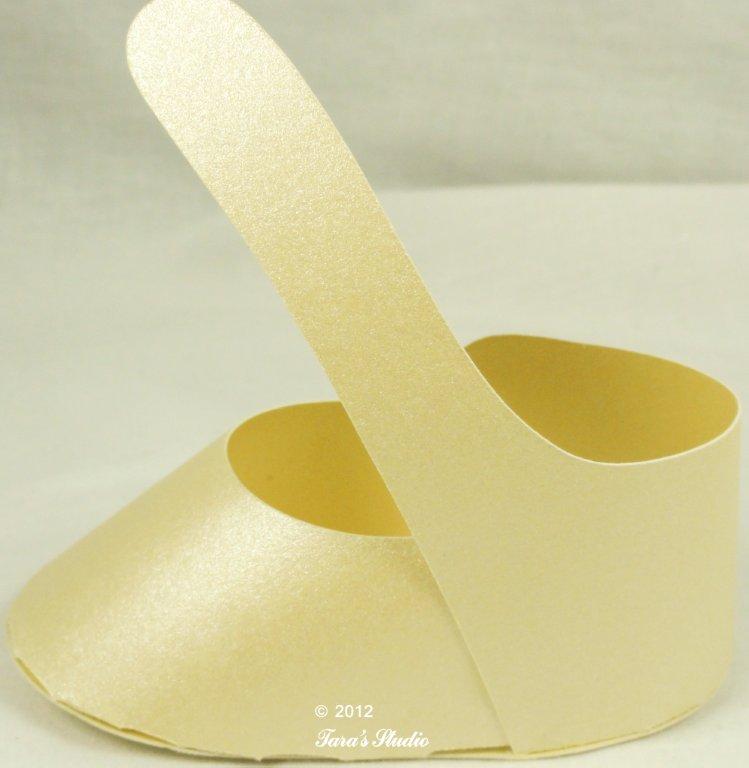
Now glue the shoe strap to the opposite side.
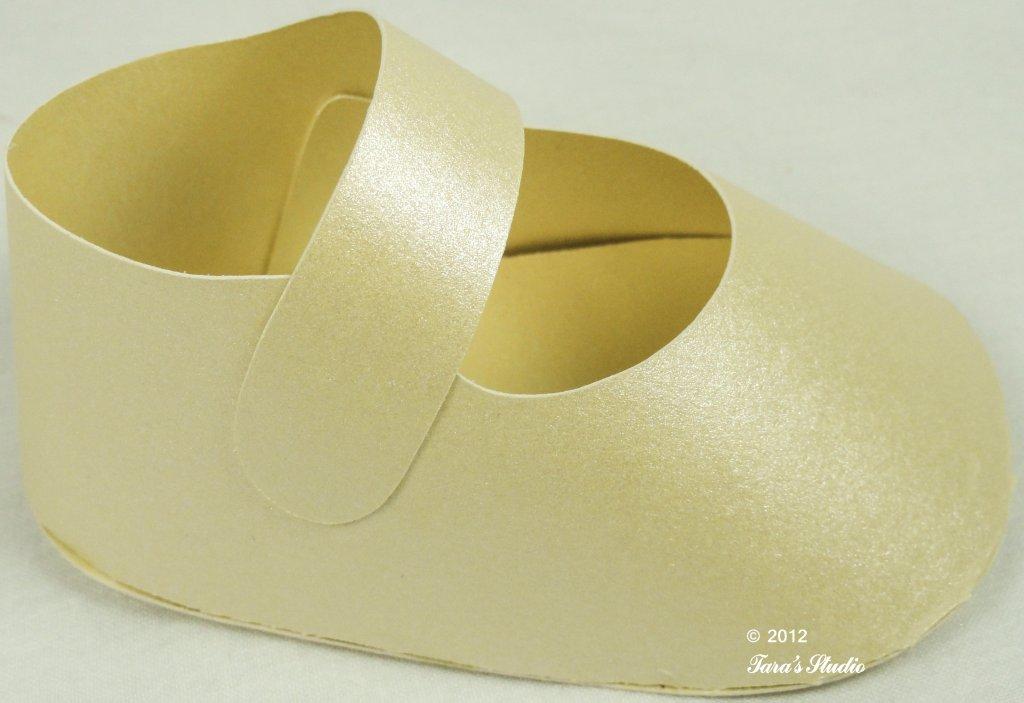
The shoe is now ready to decorate.
Комментариев нет:
Отправить комментарий