I am excited to be a part of Delia's nesting series. The projects so far have been so neat, don't you think? I'm excited for more to come.
Today, I'm sharing This project came from necessity to keep the cute toes of my 8-month-old son warm during the winter months of Minnesota. Baby socks weren't cutting it. You see, my son, Sweet J, has cankles. Very cute, very fluffy cankles. (For those who aren't familiar, cankles is the term given when calves seamlessly blend into the foot, without a noticeable taper for the ankle.) Cankles and baby socks make for a frustrating pair. The socks did not stay up and they did not not stay on which led to a few lost socks. After lots of trial and error, I came up with a pattern that worked. These booties are easy to put on, they stay on his feet and cankles and, most importantly, they keep his toes warm.
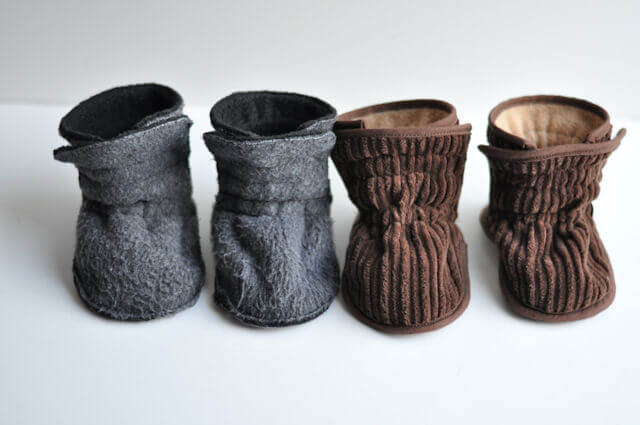
 The pattern is fairly simple so excuse my over-explaining. I'm not what
you would call a natural seamstress like most of the rest of these
ladies. I love doing it but I really have to think. :)
Are you interested in making some yourself?
Then you're in luck, there's a link at the end of the post for a free
download of my pattern.
These booties don't require much, especially if you're making wee little
booties.
- Fabric - One fabric or two coordinating fabrics. A quarter of a yard is plenty for most sizes.
- Elastic - I used 3/8 inch elastic in my son's booties and 1/2 inch elastic for the smaller ones. Fit to your baby.
 I did this for both colors.
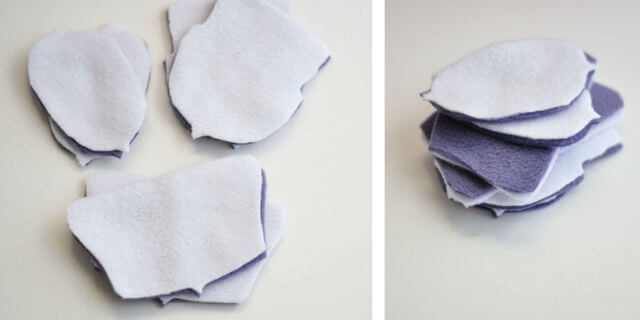
 Match
up all the pieces, putting the wrong sides together. To make a pair of
booties, there should be two of each part and with each part, there
should be an inside and outside piece.
 Using the pattern, mark where the elastic channels go.
 Connect the dots and sew the elastic channel lines on both the FRONT and BACK pattern parts. There are two channels on each.
 Once the elastic channels are sewn, sew around the top of the FRONT piece, using your presser foot as your inseam distance.
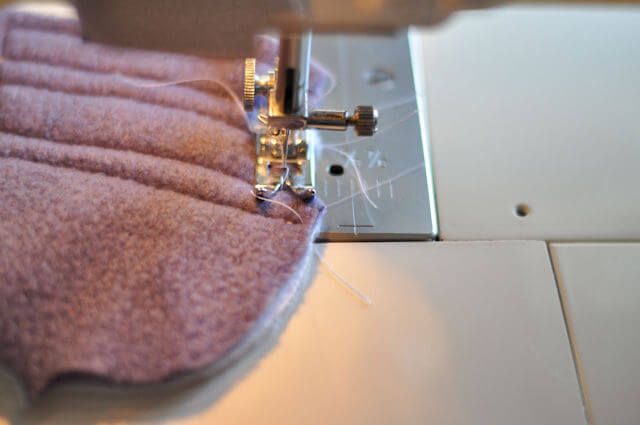 This is what the top section of the FRONT piece looks like sewn. Notice the bottom half-circle is not sewn.
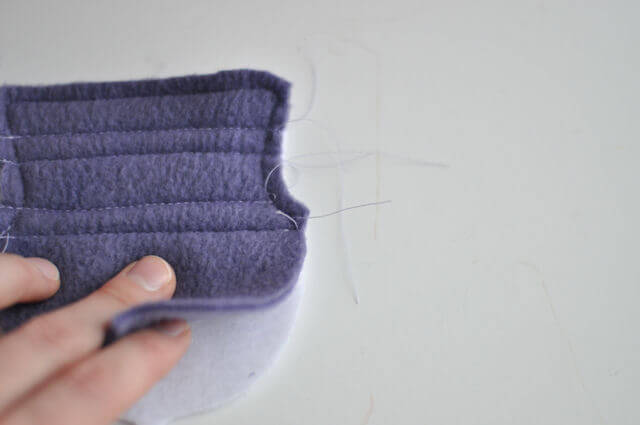 Here is a picture of the BACK piece with the elastic channels and top part sewn.
 With both FRONT pieces and both BACK pieces prepared, begin constructing the bootie.
Match up the "1" notch on the BACK piece and the "1" notch on the SOLE piece and secure with a pin.
 Once
the notches are matched up, bring either side of the BACK piece to meet
the SOLE piece and secure with pins. Sew, again, using the presser foot
as the inseam guide. Trim just the BACK piece, cutting it close and
evenly around the stitching.
 Next, take the FRONT piece and match up the "2" notch with the "2" notch on the SOLE piece. Pin in place.
 Again, match up the rest of the FRONT piece with the SOLE piece.
The FRONT piece will overlap the BACK piece.
 Pin in place.
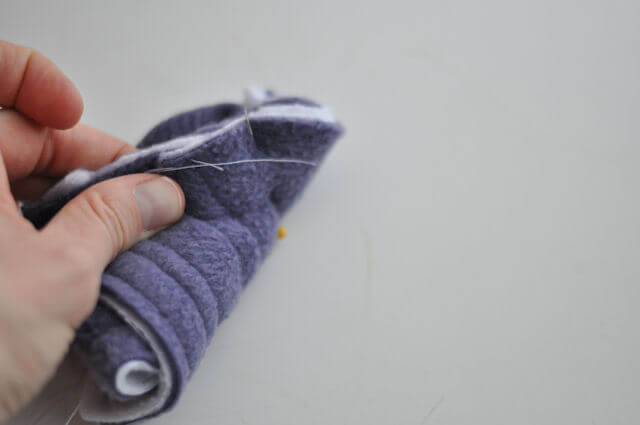 Sew
around the FRONT piece, using the presser foot as the inseam guide. The
bootie on the right shows the FRONT piece newly attached.
 Trim down the FRONT piece and around the SOLE. The one on the left is trimmed down.
 Now to the elastic. Peel back the FRONT and BACK pieces.
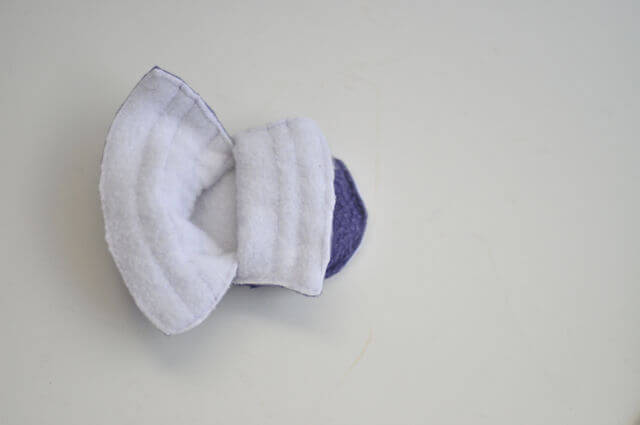 On the inside of the FRONT piece, cut two tiny openings in each channel, one on each side, about 3/8 inch in from the edge.
 On the outside of the BACK piece, make another two openings per elastic channel, 1/2 inch from the edge. Obviously only one side is showing here. Make sure the other side looks the same.

Thread the elastic through the elastic channels starting with the bottom channel, in the hole on the BACK piece.
Continue threading it around the BACK and then through the FRONT piece, ending where it began.
Repeat with the top channel.
Sew together the elastic to fit your babe's leg/ankle/cankle circumference. You will want the bottom elastic to be the tighter of the two to ensure the bootie stays in place. If it's not right the first time, resew.
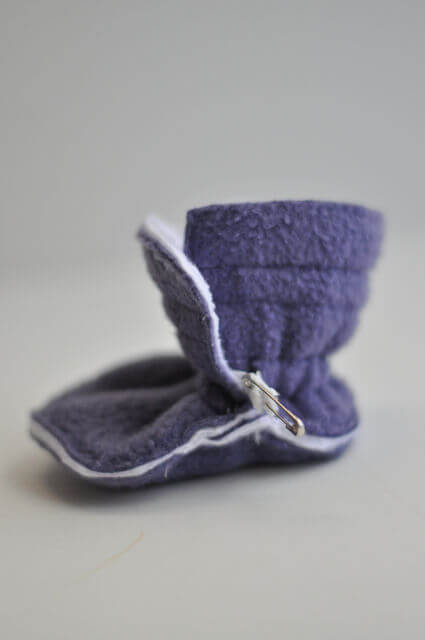
To complete the bootie, rotate the elastic so the ends are inside the channels.

Then they are finished. One sweet pair of booties.

I don't have a wee baby to try them on anymore but if you're in the same boat, rest assured they make perfect baby doll booties as well.

This is my Sweet J with his booties.
 His have a bit of a 'brushed' look from speedily crawling everywhere. The best part is they stay on even then.

If you would like to make some booties for a sweet baby in your life, follow the picture link below for the pattern. The pattern will be available for free for the length of Delia's series.



Комментариев нет:
Отправить комментарий